Lesson 2: Python for Data Scientists – Your First Program in Google Colab | Jeslin Lois
Write your first Python program in Google Colab. Jeslin Lois explains how to set up Colab, create a notebook, and run your first code — no installation required.
Jeslin Lois
5/8/20243 min read
You don’t need to install anything.
You don’t need a powerful laptop.
All you need is a browser and curiosity.
Welcome back to Python for Data Scientists – From Scratch.
In this post, we’ll set up Google Colab and write your very first Python program — all in the cloud, for free.
Why Google Colab?
Google Colab is like a Jupyter Notebook, but hosted online.
It’s the perfect tool for beginners because:
No installation required
Works on any device with a browser
Saves code directly to your Google Drive
Comes with Python and essential data science libraries (Pandas, NumPy, Matplotlib, Scikit‑learn) already installed
In short, Colab removes all setup headaches and lets you focus on learning Python immediately.
Step‑by‑Step: Setting Up Google Colab
Step 1: Open Google Colab
Sign in with your Google account
You’ll see the welcome screen (Figure 1).
Step 2: Create a New Notebook
Click “New Notebook” on the welcome screen.
Colab will create a blank notebook for you (Figure 2).
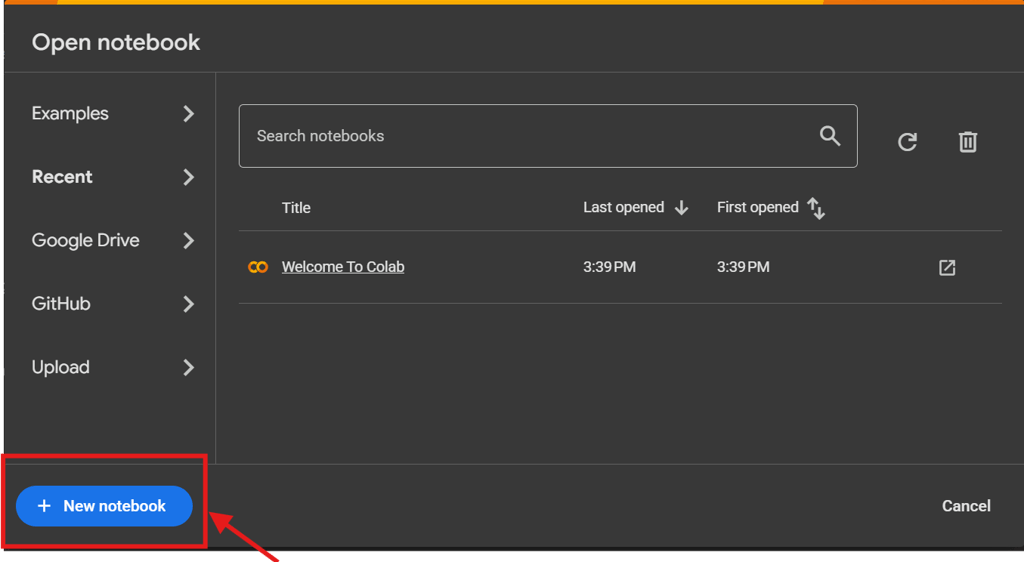
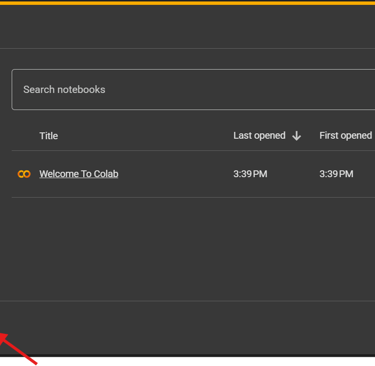
Figure 2. This is your notebook interface.
Click the ▶ play button or press Shift + Enter.
You’ll see the output appear right below the cell.
Hello, Data Scientist
Congratulations — you just wrote your first line of Python code!
What Just Happened?
Let’s break it down:
print() is a function in Python.
It tells Python to display whatever you put inside the parentheses.
"Hello, Data Scientist" is a string — just a piece of text.
You’ll use print() a lot to test, debug, and check your work as you learn.
What’s Next?
In the next blog post, we’ll dive into the core building blocks of Python:
How to create variables
The difference between strings, numbers, and booleans
How to use Python to store and manipulate information
By the end of that lesson, you won’t just be typing code — you’ll start thinking like a data scientist.
Final Thoughts
If you’ve just written your first line of code, take a moment to celebrate.
You’re not just “learning to code” — you’re learning how to build solutions, step by step.
Remember, the goal isn’t to become perfect at Python overnight.
The goal is to become comfortable enough to solve real‑world problems with it.
Stay Connected
Save this blog so you can return when you need it
Share it with someone who’s curious about Python
Leave a comment if you ran your first print() successfully
See you in the next post,
Jeslin Lois
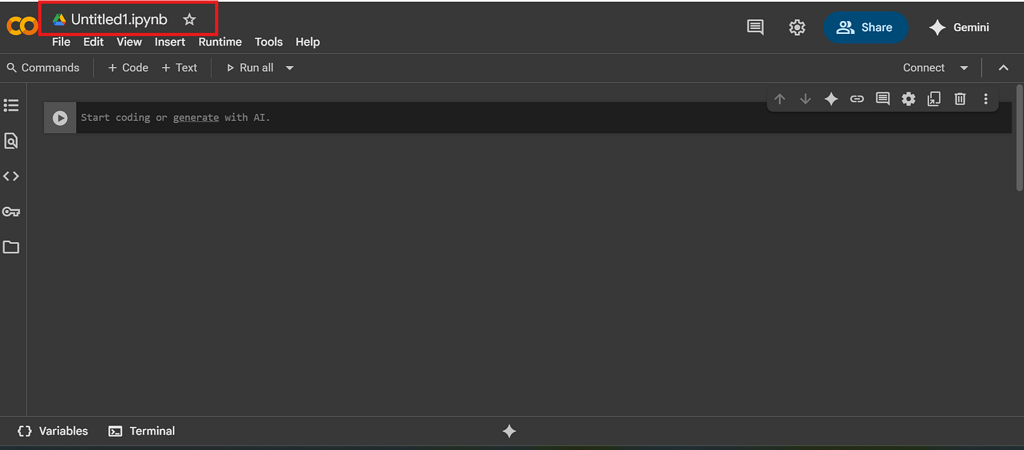
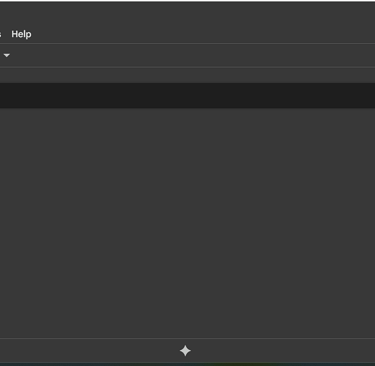
Figure 1. Google Colab welcome screen — click “New Notebook” to start your Python journey.
Step 3: Rename Your Notebook
At the top‑left, click Untitled1.ipynb
Rename it to something meaningful, like:
My-First-Python-Code.ipynb
This helps you stay organized as you create more notebooks.
Step 4: Understand the Interface
You’ll see box‑like areas with a small play button on the left — these are code cells (Figure 3).
A code cell is where you type and run Python code.

Figure 3. Each box like this is a “code cell” where you can write and run Python code.
Step 5: How to Run Code
Type code in a code cell, then click the ▶ play button on the left.
Or press Shift + Enter to run it using a keyboard shortcut.
Writing Your First Python Program
Inside the code cell, type: